Storing Kubeflow Pipeline Templates in GCP Artifact Registry
In this blog post, we will discuss how to store Kubeflow Pipeline templates in GCP Artifact Registry, enabling reusability and version control for your pipelines. Using Artifact Registry over Cloud Storage simplifies version control and allows for easier collaboration between single or multiple users.
By using GCP Artifact Registry to store Kubeflow Pipeline templates, you can take advantage of its features, such as versioning, granular access control, and sharing of templates among team members. This allows for better management and organization of your machine learning workflows and MLOps processes.
Stay tuned for more blog posts in this series, where we will dive deeper into machine learning concepts and MLOps using Kubeflow Pipelines on GCP Vertex AI.
Setting upp your enviorment
You can either use the dev container or follow the instructions here.
IMPORTETN! This turorial is built on using a higher version of KFP so we need to upgrade it.
pip install kfp==2.0.0b13
You might have to update even that with the command below, when writting this post it is in beta.
kfp install kfp --pre
Creating a simple pipeline and push it to artifact registry
The documentation from gcp can be found here
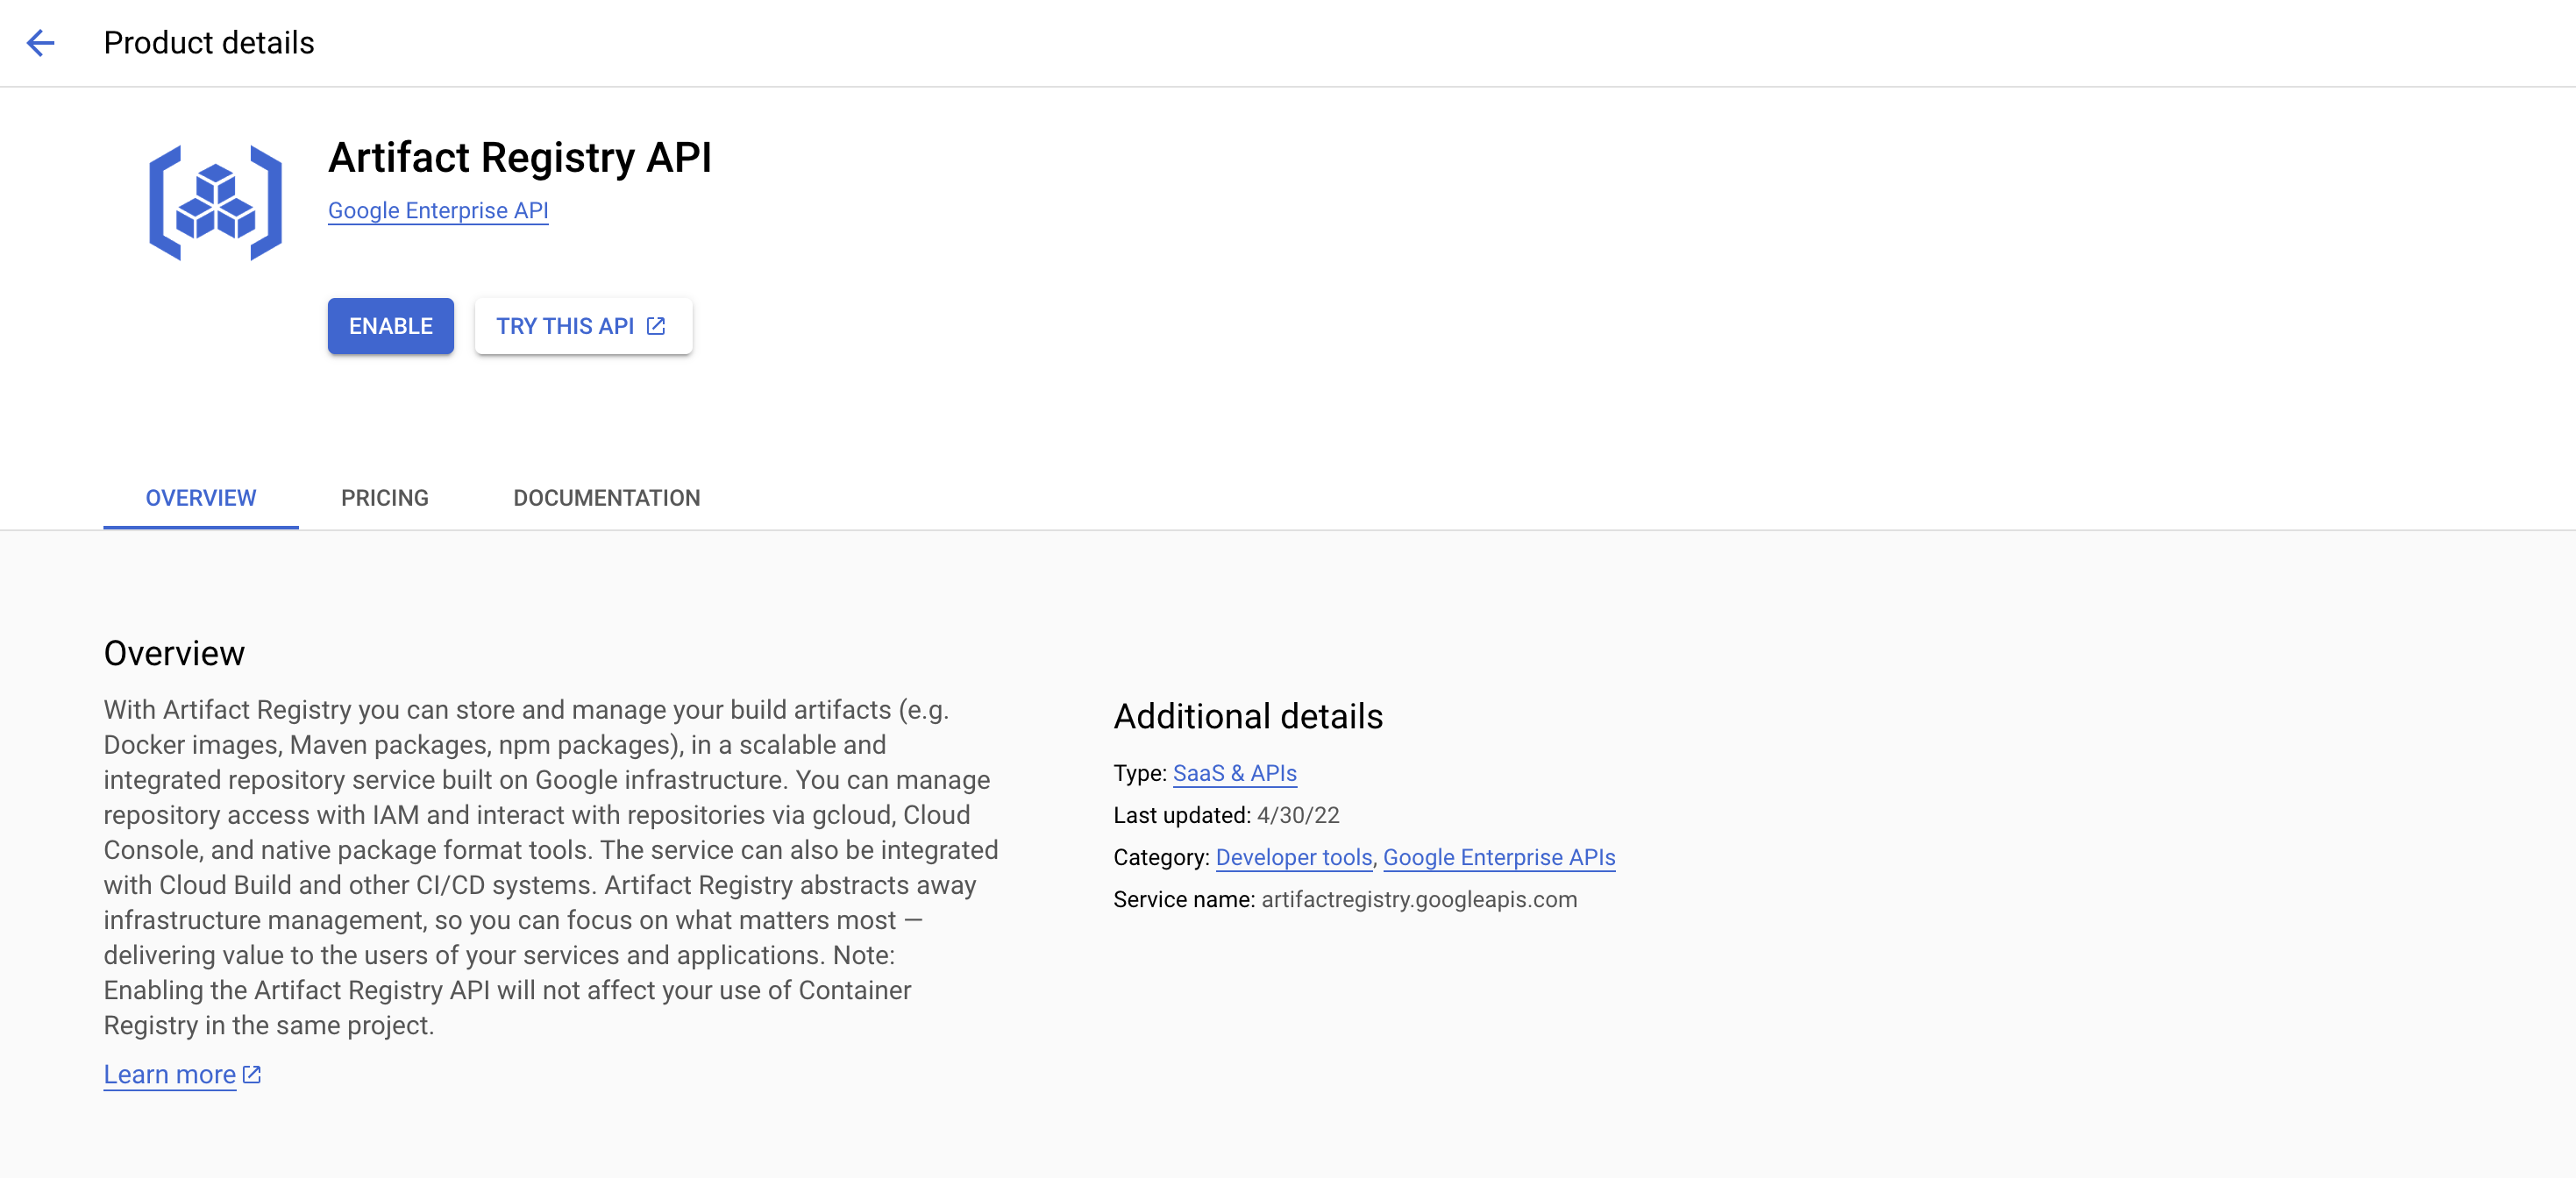
Enable artifact registry in gcp.
create an artifact registry

We are now ready to start coding, first we create an env
    gcp_project=example-project
    gcp_service_account=example-service-account@example-service-account.iam.gserviceaccount.com
    bucket=gs://example-bucket
    kubeflow_pipelines_artifact_registyr=test-test
- Time to start coding in python
    import os
    from kfp.registry import RegistryClient
    from dotenv import load_dotenv

    load_dotenv()
    bucket = os.getenv("bucket")
    gcp_project = os.getenv("gcp_project")
    gcp_service_account = os.getenv("gcp_service_account")
    kubeflow_pipelines_artifact_registyr = os.getenv('kubeflow_pipelines_artifact_registyr')

    client = RegistryClient(host=f"https://europe-west1-kfp.pkg.dev/{gcp_project}/{kubeflow_pipelines_artifact_registyr}")
This code snippet demonstrates how to set up a connection to a Kubeflow Pipelines Artifact Registry using the RegistryClient from the kfp.registry module. It first loads the necessary environment variables from a .env file using the dotenv package, retrieves the required environment variables, and then establishes a connection to the Artifact Registry using the RegistryClient.
- List all artifacts.
client.list_packages()
- Let’s create a simple kubeflow template.
    import kfp.dsl as dsl
    import os
    from dotenv import load_dotenv
    from kfp.v2.dsl import component
    from kfp.v2 import compiler
    from google.cloud import aiplatform as aip

    # Define the model training function
    def train_model(input: float) -> float:
        return 2.0 + input

    # Define the data ingestion function
    def ingetst_data(input: float) -> float:
        return 2.0

    # Create components for the ingestion and training functions
    ingest_data_component = component(ingetst_data)
    train_component = component(train_model)

    # Define the pipeline using the Kubeflow Pipelines SDK
    @dsl.pipeline(
        name="ltv-train",
    )
    def add_pipeline():
        # Instantiate the ingest_data_component and store its output
        ingest_data = ingest_data_component(input=3.0)

        # Instantiate the train_component, passing the output from the ingest_data_component
        train_model = train_component(input=ingest_data.output)

        # Disable caching for the train_model component to ensure it runs every time
        train_model.set_caching_options(False)

    # Compile the pipeline to generate a YAML file for execution
    compiler.Compiler().compile(pipeline_func=add_pipeline, package_path="local_run.yaml")
This code snipet demonstrates how to create a simple Kubeflow pipeline using the Kubeflow Pipelines SDK. It defines two functions, one for data ingestion and another for model training. Components are created for both functions using the component function from the kfp.v2.dsl module. The pipeline is then defined using the @dsl.pipeline decorator, which instantiates the components and sets the desired caching options. Finally, the pipeline is compiled into a YAML file for execution.
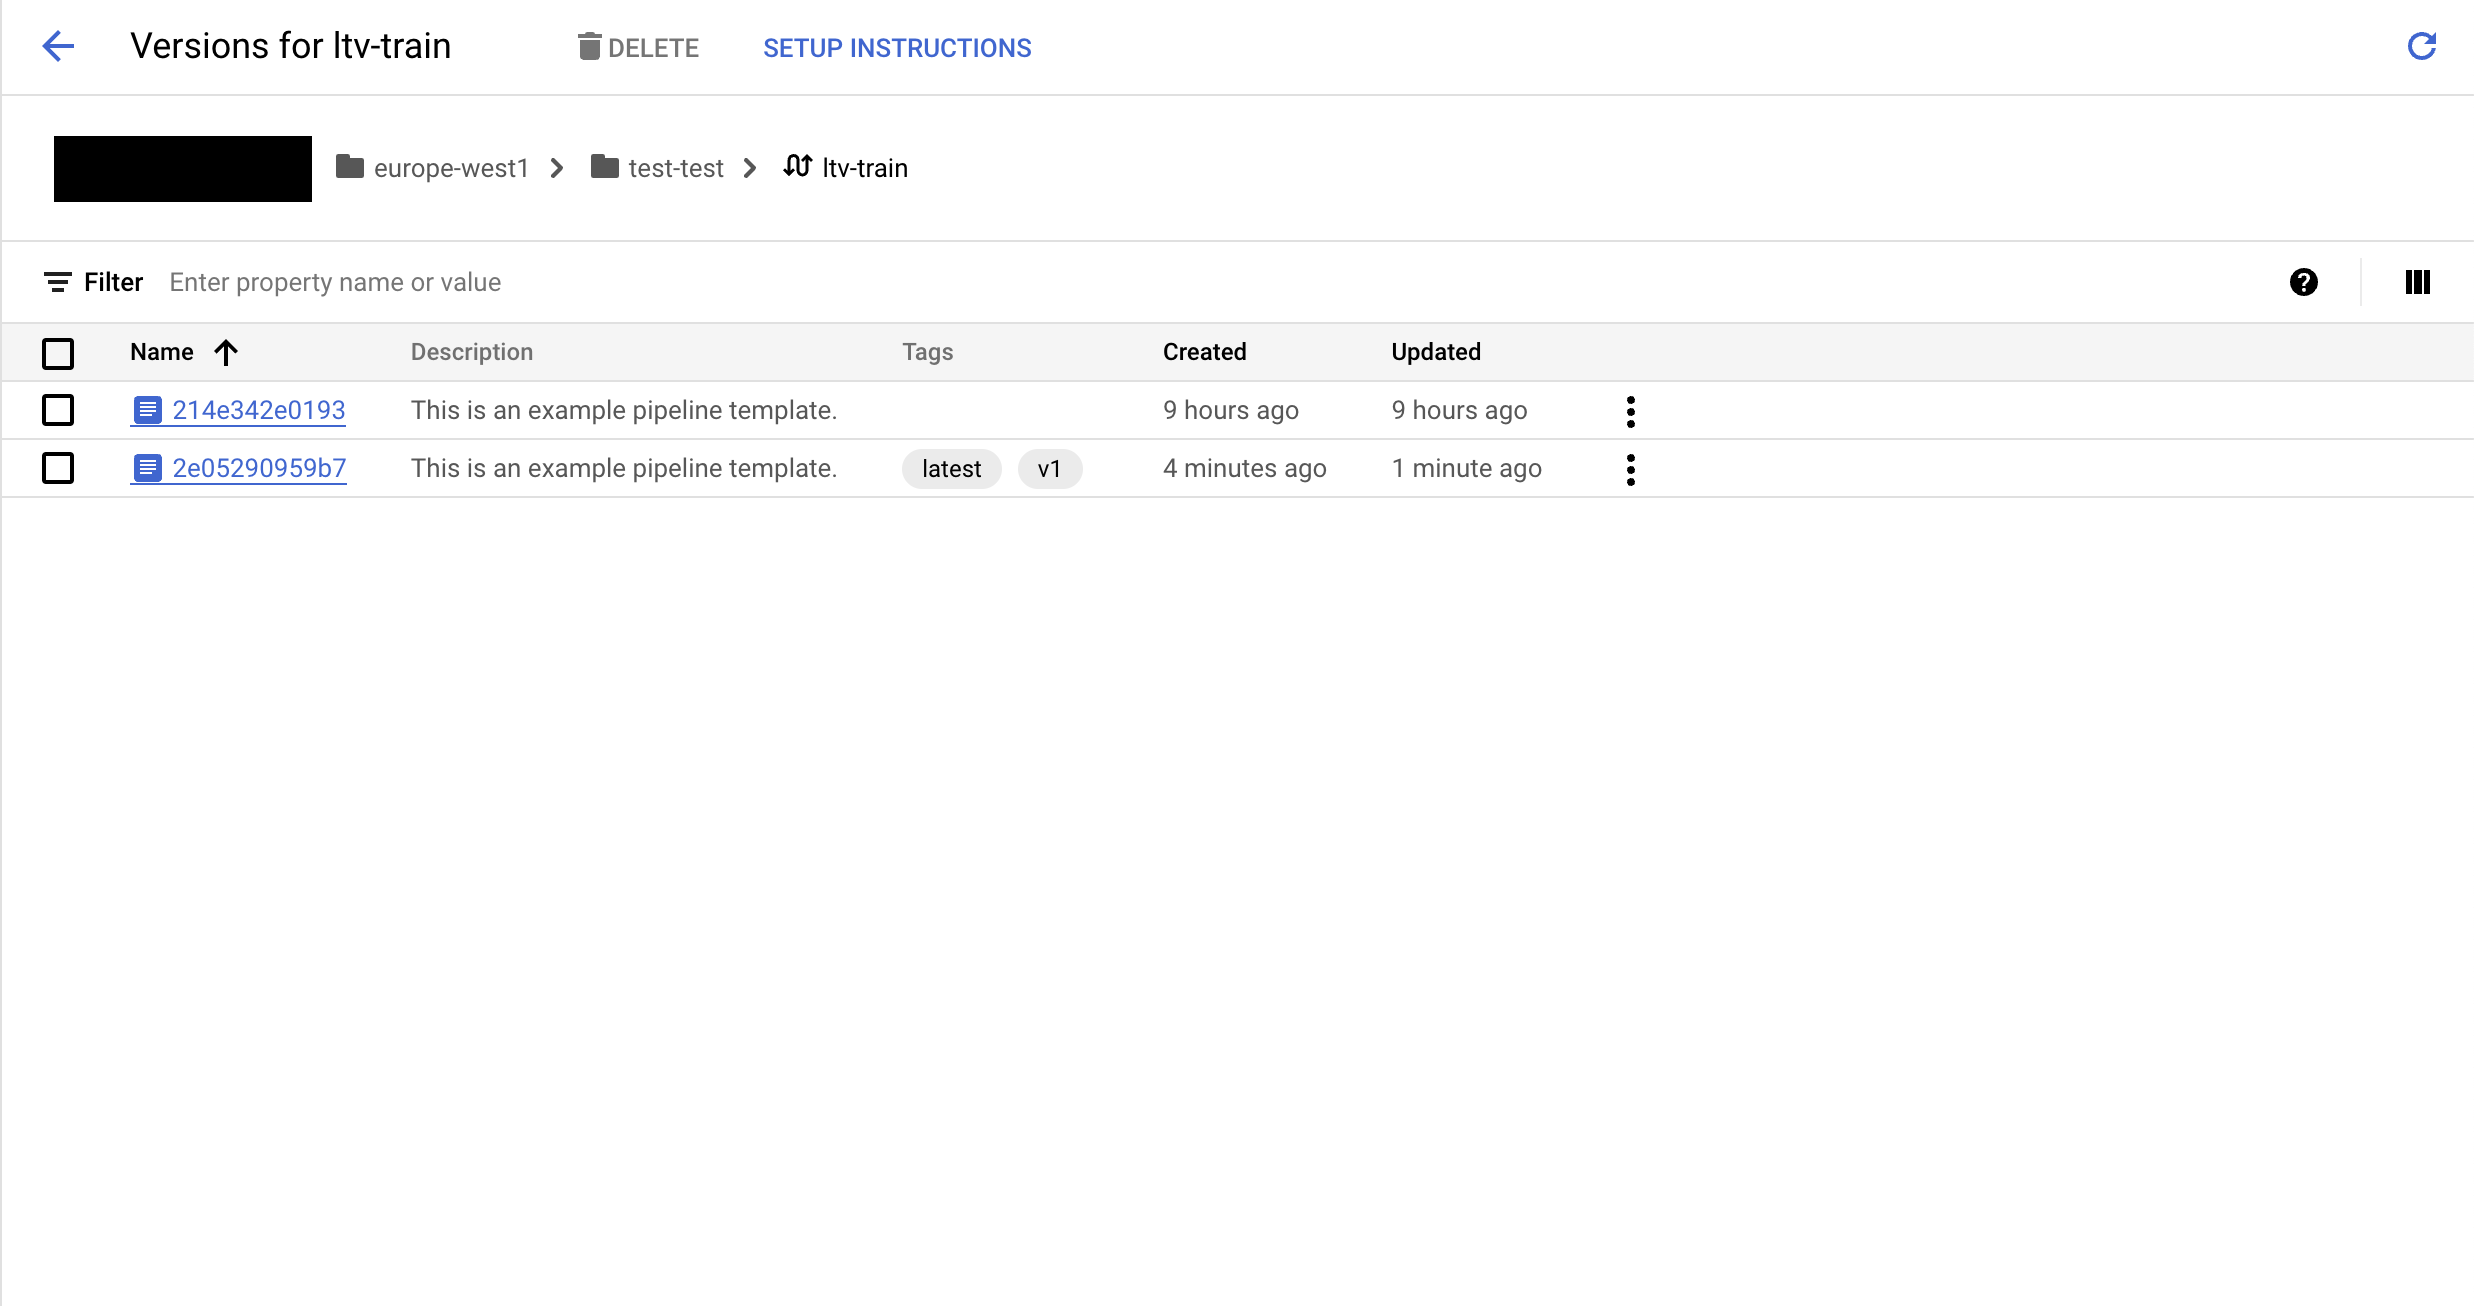
- Let’s push the templat to artifact registry.
    # Upload the pipeline to the Kubeflow Pipelines registry
    templateName, versionName = client.upload_pipeline(
        # Provide the compiled pipeline YAML file
        file_name="local_run.yaml",

        # Assign tags to the pipeline for easier identification and versioning
        tags=["v1", "latest"],

        # Add a description to the pipeline using extra_headers
        extra_headers={"description": "This is an example pipeline template."}
    )
This code snippet uploads the compiled pipeline YAML file (local_run.yaml) to the Kubeflow Pipelines registry. The upload_pipeline function is used to submit the pipeline with specified tags and a description. The tags help with versioning and identification of the pipeline, while the description provides additional context about the pipeline’s purpose.
You should now have something like this but with one version in gcp.
 . You can find the code here in github