Custom runpod container
In today’s cloud compute market, there are a lot of different providers — everything from small local companies trying to break through to massive giants like Amazon, Azure, and GCP. My personal favorite is GCP, not necessarily because they’re the best, but because it’s the provider I know (and have used) the most.
However, getting a GPU on GCP can be a bit complicated: you need to request quota, you need to do it in the right region, and that region needs to actually have capacity. At one point my quota request was approved, but GPUs still weren’t available in that region. So for most GPU work I’ve turned to Modal and Runpod. Modal is awesome for notebooks (and you get $30/month for free), and Runpod is great when I want to work in a custom container.
Getting a custom container working on Runpod was a bit of a hassle the first time, so I thought I’d share how to build a custom Runpod container you can SSH into.
The first step is creating a Docker image. I usually start from a base image with as much preinstalled as possible, like an official PyTorch or Hugging Face 🤗 container.
Below is our base Dockerfile, which we’ll update a bit.
FROM huggingface/transformers-pytorch-deepspeed-latest-gpu

# Install SSH server (for RunPod "SSH" connect option)
RUN apt-get update \
    && DEBIAN_FRONTEND=noninteractive apt-get install -y --no-install-recommends \
        openssh-server \
    && rm -rf /var/lib/apt/lists/* \
    && mkdir -p /run/sshd

# Make root SSH login possible inside the container (RunPod commonly connects as root)
RUN sed -i 's/^#\?PermitRootLogin.*/PermitRootLogin yes/' /etc/ssh/sshd_config \
    && sed -i 's/^#\?PasswordAuthentication.*/PasswordAuthentication no/' /etc/ssh/sshd_config \
    && sed -i 's/^#\?PubkeyAuthentication.*/PubkeyAuthentication yes/' /etc/ssh/sshd_config

RUN apt-get update && apt-get install -y curl
After that we need to add some Runpod-specific pieces to make SSH work. We’ll also expose a couple of ports and add a bash script. Below is the custom start script from Runpod’s official containers that we’ll add.
#!/usr/bin/env bash
set -e

# Start SSH if PUBLIC_KEY is provided (RunPod convention)
setup_ssh() {
  if [[ -n "${PUBLIC_KEY:-}" ]]; then
    echo "Setting up SSH authorized_keys..."
    mkdir -p ~/.ssh
    echo "$PUBLIC_KEY" >> ~/.ssh/authorized_keys
    chmod 700 ~/.ssh
    chmod 600 ~/.ssh/authorized_keys

    echo "Ensuring SSH host keys exist..."
    mkdir -p /etc/ssh
    [[ -f /etc/ssh/ssh_host_rsa_key ]] || ssh-keygen -t rsa -f /etc/ssh/ssh_host_rsa_key -q -N ''
    [[ -f /etc/ssh/ssh_host_ecdsa_key ]] || ssh-keygen -t ecdsa -f /etc/ssh/ssh_host_ecdsa_key -q -N ''
    [[ -f /etc/ssh/ssh_host_ed25519_key ]] || ssh-keygen -t ed25519 -f /etc/ssh/ssh_host_ed25519_key -q -N ''

    echo "Starting sshd..."
    mkdir -p /run/sshd
    /usr/sbin/sshd
  else
    echo "PUBLIC_KEY not set; not starting sshd."
    echo "(Set PUBLIC_KEY in RunPod to enable SSH access.)"
  fi
}

export_env_vars() {
  # Make env vars available in interactive shells
  echo "Exporting environment variables for interactive shells..."
  printenv | grep -E '^[A-Z_][A-Z0-9_]*=' | grep -v '^PUBLIC_KEY=' | awk -F= '{ val=$0; sub(/^[^=]*=/,"",val); print "export " $1 "=\"" val "\"" }' > /etc/rp_environment || true
  if [[ -f /etc/rp_environment ]]; then
    touch ~/.bashrc
    grep -q 'source /etc/rp_environment' ~/.bashrc || echo 'source /etc/rp_environment' >> ~/.bashrc
  fi
}

start_jupyter() {
  if [[ -n "${JUPYTER_PASSWORD:-}" ]]; then
    if python3 -c "import jupyterlab" >/dev/null 2>&1 || python3 -m jupyter lab --version >/dev/null 2>&1; then
      echo "Starting Jupyter Lab on :8888 ..."
      mkdir -p /workspace
      nohup python3 -m jupyter lab \
        --allow-root --no-browser \
        --port=8888 --ip=* \
        --FileContentsManager.delete_to_trash=False \
        --ServerApp.terminado_settings='{"shell_command":["/bin/bash"]}' \
        --IdentityProvider.token="$JUPYTER_PASSWORD" \
        --ServerApp.allow_origin=* \
        --ServerApp.preferred_dir=/workspace \
        > /jupyter.log 2>&1 &
      echo "Jupyter Lab started (token set from JUPYTER_PASSWORD)."
    else
      echo "JUPYTER_PASSWORD is set but Jupyter is not installed in this image; skipping Jupyter start."
    fi
  fi
}

echo "Pod starting..."
setup_ssh
start_jupyter
export_env_vars

echo "Pod ready. Sleeping forever."
sleep infinity
The final container image will look like this:
FROM huggingface/transformers-pytorch-deepspeed-latest-gpu


# Install SSH server (for RunPod "SSH" connect option)
RUN apt-get update \
    && DEBIAN_FRONTEND=noninteractive apt-get install -y --no-install-recommends \
        openssh-server \
    && rm -rf /var/lib/apt/lists/* \
    && mkdir -p /run/sshd

# Make root SSH login possible inside the container (RunPod commonly connects as root)
RUN sed -i 's/^#\?PermitRootLogin.*/PermitRootLogin yes/' /etc/ssh/sshd_config \
    && sed -i 's/^#\?PasswordAuthentication.*/PasswordAuthentication no/' /etc/ssh/sshd_config \
    && sed -i 's/^#\?PubkeyAuthentication.*/PubkeyAuthentication yes/' /etc/ssh/sshd_config

COPY start.sh /start.sh
RUN chmod +x /start.sh

RUN apt-get update && apt-get install -y curl

# Optional: RunPod/SSH (22) and Jupyter (8888)
EXPOSE 22 8888

CMD ["/start.sh"]
Let’s build the container and push it to GCP Artifact Registry.
Runpod supports private container/artifact repos from Docker Hub, so for GCP Artifact Registry the container must be public (not ideal, but for this small example let’s not worry about it). Since we’ll run the image on Linux, we’ll make sure to build for the correct architecture. With that said, feel free to use any artifact registry of your choice!
For GCP I normally use the command below; then the image is built on a Linux machine and pushed to Artifact Registry.
gcloud builds submit \
  --project=<your gcp project> \
  --tag=<your artifact registry> \
  --region=europe-west1
We’re almost done. One important step is left: we need to create a template in Runpod that uses our container. Things to consider: how much disk do you need? In this example we YOLO 200GB. Then we set up the correct ports and it should be good to go. That means HTTP ports 8888 and 80, as well as TCP port 22.
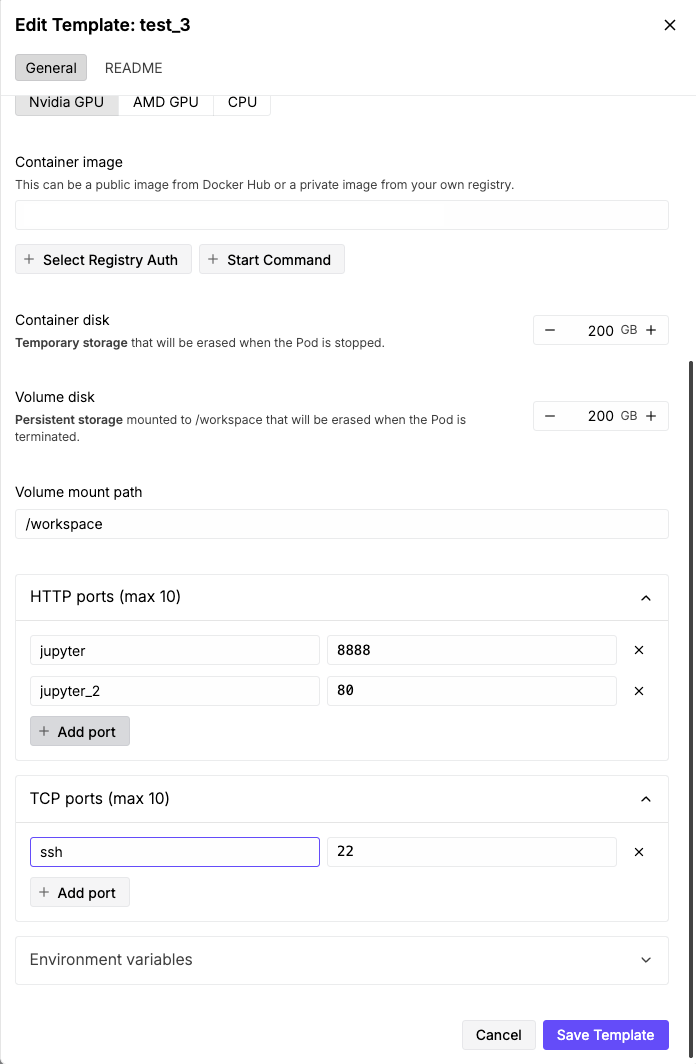
You also need to add the path to your container image, left blank in this example.
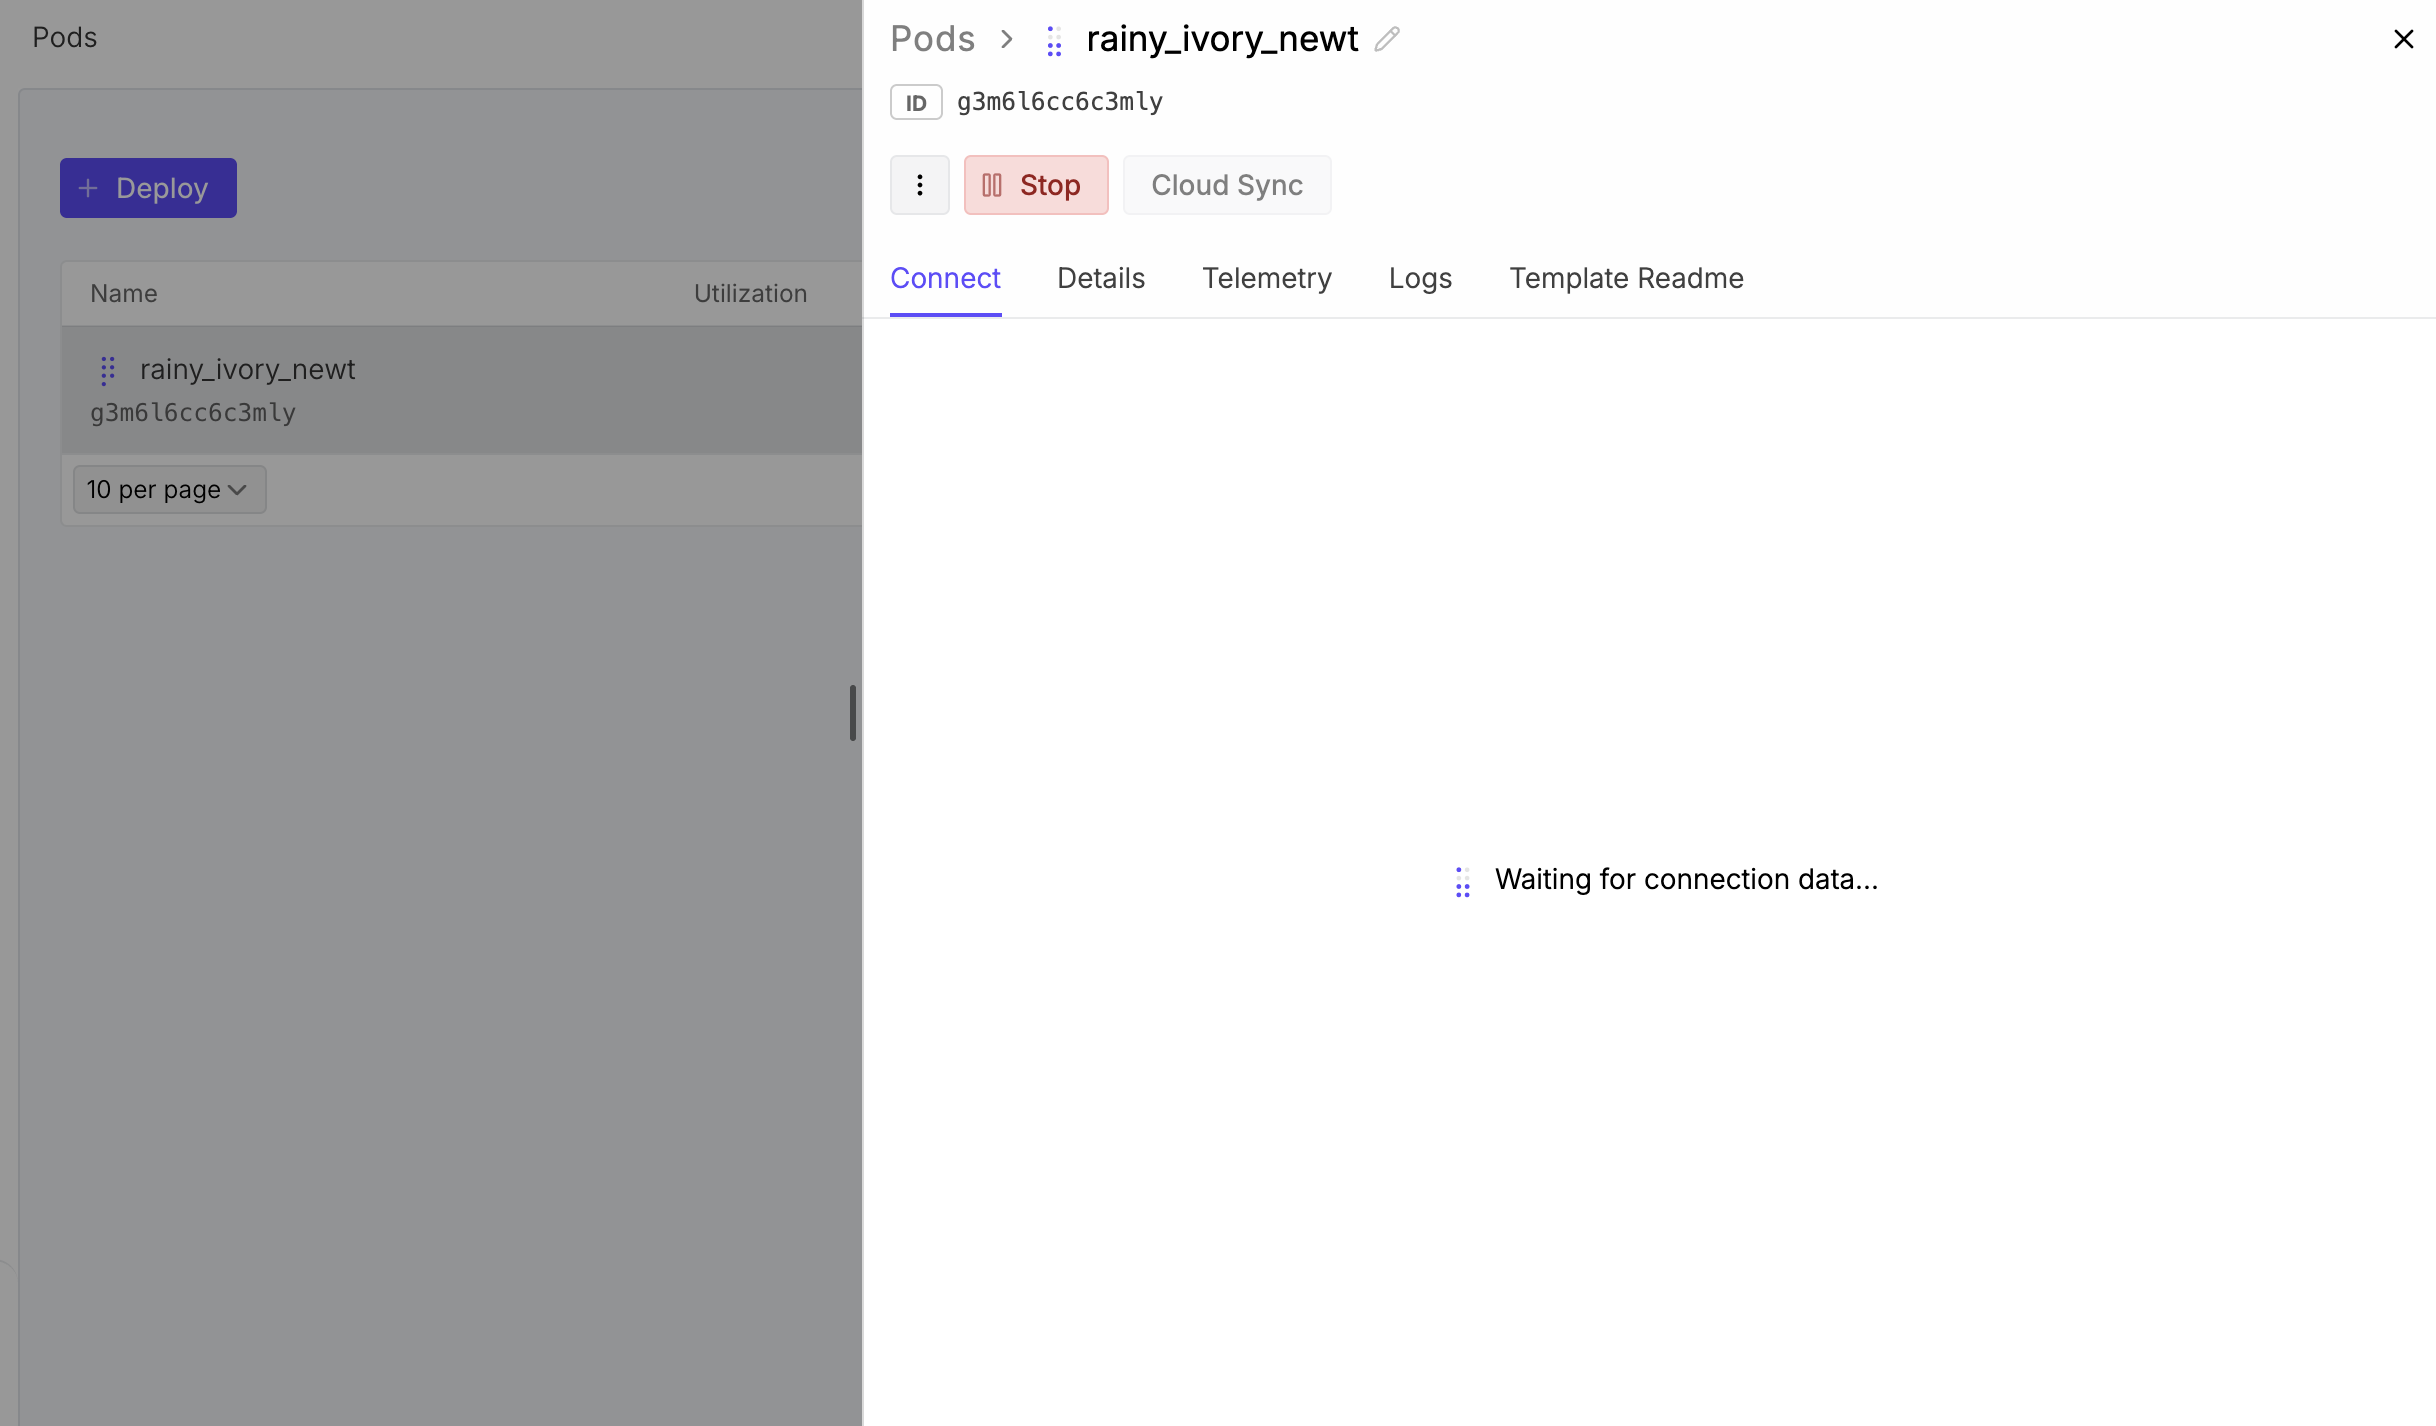
Let’s try it. Runpod’s official Docker images are cached, so they load incredibly fast. Ours will take a little longer to start up.
There you have it — hope this saves you a bit of time building a custom image you can SSH into!